Millions of apps built and deployed in a single day!
But now ask yourself: Are they all successful? Are they all generating substantial revenue every year?
Well, you have got the answer in your mind!
But, here’s the catch!
Did you know?
Apple rejected nearly 1.93 to 2 million iOS app submissions just a couple of years ago.
Sounds surprising, doesn’t it!
There could be many iOS app rejection reasons, but some of the popular ones may include;
- Violation of Apple Store Review Guidelines
- Wrong or Incomplete Information
- Technical Errors
- Poor UI/UX Design
- Payment or Subscription Violations
- Incomplete metadata
But now the question arises- What are the Apple App Store guidelines? What are the app store approval tips?
In this guide, we break down the most common iOS app rejection reasons, explain why apps fail review, and show proven fixes that help teams get approved faster.
What Are Apple App Store Developer Guidelines?
The Apple App Store Developer Guidelines are the official rules developers must follow to publish apps on Apple’s App Store. These standards define how an app should function, handle user data, present content, and manage payments before Apple approves it. During review, Apple evaluates every submission using the Guidelines to ensure quality and compliance.
Apple maintains strict review standards to protect users and preserve trust in its ecosystem. The guidelines help Apple:
- Safeguard user privacy and sensitive data
- Prevent misleading or low-quality apps
- Ensure stable performance and consistent design
- Create a safe and reliable app marketplace
Recent updates to the Apple App Store Developer Guidelines emphasize transparency and accountability. Apple now pays closer attention to:
- Clear privacy disclosures and tracking permissions
- Honest subscription pricing and cancellation flows
- Accurate screenshots and app descriptions
- Performance consistency across devices
- Responsible use of AI-driven features
The App Store App Review Guidelines exist to ensure users download apps that are secure, transparent, and reliable. Apps that clearly communicate permissions, avoid deceptive UI patterns, and deliver promised functionality gain faster approvals and stronger user confidence.
Expert Insight:
Most app rejections happen not because of bugs, but because developers misunderstand Apple’s review guidelines. Common issues include incomplete metadata, unclear functionality, or missing demo credentials. Designing your app around the guidelines from the start greatly reduces the risk of rejection.
Before diving into the reasons and fixations, let’s understand how the Apple App Store review works!
How the App Store Review Process Works (2026 Update)
Understanding how Apple reviews your mobile app helps you submit an app to the App Store with confidence and reduce the chances of rejection. In 2026, the review process remains structured into clear stages, from submission to final approval, with a growing emphasis on performance, safety, transparency, and compliance with Apple’s rules.
Step #1. Submission
When you submit an app to the App Store, you provide Apple with your app, metadata, screenshots, privacy policies, and other required details. Proper submission reduces rejection risk.
- Create your app build in Xcode and archive it for submission.
- Upload your app to App Store Connect.
- Fill in all metadata, including app name, description, category, and keywords.
- Add screenshots and preview videos for all supported devices.
- Provide a privacy policy URL and demo login credentials if needed.
- Double-check all details for accuracy before hitting “Submit.”
Tip: Incomplete or misleading metadata is one of the top causes of rejection.
2. Automated Checks
Apple runs automated scans to detect obvious issues before human reviewers see the app. These checks ensure your app meets basic technical and policy requirements.
- Run your app through TestFlight to catch crashes or memory leaks.
- Validate that all links, assets, and API calls work correctly.
- Ensure your app complies with in-app purchase rules and subscription flows.
- Check for malware or prohibited code snippets.
- Confirm compliance with Apple App Store Developer Guidelines.
Insight: Apps that fail automated checks are rejected faster, even if they work technically.
3. Human Review: In-Depth Evaluation
After automated screening, Apple reviewers manually assess your app for functionality, safety, and user experience.
- Test app performance across multiple devices and iOS versions.
- Check that privacy permissions are clearly explained and not misused.
- Verify metadata matches actual functionality, screenshots, descriptions, and features.
- Evaluate business compliance (in-app purchases, subscriptions, promotions).
- Assess UI/UX design for clarity, accessibility, and safety.
- Identify misleading content, spam, or unethical practices.
Expert Insight: According to Apple’s App review guidelines, most rejections are due to a misunderstanding of guideline requirements rather than technical bugs.
4. Approval or Rejection
After human review, Apple either approves your app for release or sends a rejection notice with specific reasons.
- If approved, schedule your app release or publish immediately.
- If rejected, carefully read the reviewer notes to identify violations.
- Map each issue to the relevant guideline in the App Store App Review Guidelines.
- Fix the problems in your app, metadata, or documentation.
- Re-test your app thoroughly to ensure all fixes work.
- Resubmit your app with a clear explanation of the changes made.
Statistic: Historically, about 33–35% of app submissions were rejected due to incomplete submissions or guideline violations, not coding errors.
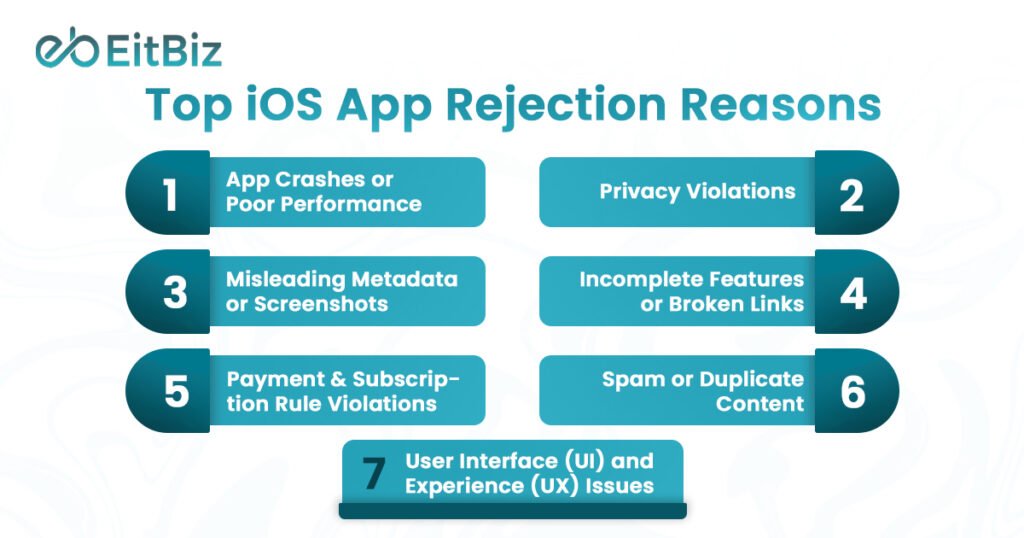
Top iOS App Rejection Reasons in 2026
Even experienced developers can face rejection when they submit an app to the App Store. In 2026, Apple tightened its review standards, with a focus on user safety, privacy, performance, and guideline compliance. Understanding the top reasons for rejection can save time, reduce frustration, and increase your chances of approval.
Below, we break down the most common iOS app rejection causes and explain why apps fail Apple’s review.
1. App Crashes or Poor Performance
Apple prioritizes stability and reliability. Apps that crash, freeze, or behave inconsistently across devices are often rejected.
Common causes:
- Memory leaks or inefficient code
- Incompatibility with the latest iOS versions
- Long app launch times or slow navigation
Pro tip: Run thorough testing on multiple devices using TestFlight and automated crash analytics to detect issues before submission.
2. Privacy Violations
With rising user privacy concerns, Apple enforces strict rules for data collection, tracking, and storage. Apps that fail to provide clear privacy disclosures or misuse personal data are frequently rejected.
Common causes:
- Collecting personal data without consent
- Unclear privacy policy or missing disclosure links
- Improper handling of location or health data
Pro tip: Clearly explain what data you collect, why it’s needed, and how it’s stored. Always provide an up-to-date privacy policy.
3. Misleading Metadata or Screenshots
Apple ensures that users know exactly what an app does. Misaligned descriptions, screenshots, or feature claims can trigger rejection.
Common causes:
- Screenshots that don’t match the actual UI
- Exaggerated functionality or promises
- Inaccurate app descriptions or keyword stuffing
Pro tip: Keep metadata honest, precise, and fully aligned with your app’s features.
4. Incomplete Features or Broken Links
Apps that submit unfinished functionality, placeholder content, or links that don’t work often fail review.
Common causes:
- Buttons leading to dead pages
- Features labeled but not implemented
- Placeholder text or test accounts left in the app
Pro tip: Conduct a final walkthrough to ensure every feature works and every link is live before submission.
5. Payment and Subscription Rule Violations
Apple enforces strict rules for in-app purchases and subscriptions. Violations often lead to immediate rejection.
Common causes:
- Using third-party payment methods instead of Apple’s in-app purchase system
- Not clearly explaining subscription terms
- Offering free trials without proper disclosure
Pro tip: Follow Apple’s subscription and payment rules carefully, and provide transparent pricing and cancellation instructions.
6. Spam or Duplicate Content
Apps that provide low-value content or copy existing apps risk being rejected under Apple’s anti-spam policies.
Common causes:
- Duplicating existing apps with minor changes
- Templates or reskinned apps with minimal functionality
- Apps that primarily generate ads or affiliate links
Pro tip: Focus on originality and value. Ensure your app solves a real problem or delivers a unique experience.
7. User Interface (UI) and Experience (UX) Issues
Apps that are confusing, hard to navigate, or inconsistent with Apple’s design standards may face rejection.
Common causes:
- Buttons or menus not intuitive
- Poor readability or design inconsistencies
- Non-compliance with Human Interface Guidelines
Pro tip: Follow Apple’s UI/UX Design Guidelines closely and test your app for ease of use.

How to Fix a Rejected iOS App (Step-by-Step)
App rejection does not mean your app has failed; it means Apple found issues that must better align with the Apple App Store Developer Guidelines. Developers who follow a structured correction process usually receive approval faster after resubmission.
If you want to fix a rejected iOS app, follow the step-by-step process below and address reviewer feedback systematically instead of guessing the problem.
Step 1: Read the Rejection Message Carefully
Apple always provides a rejection reason inside App Store Connect. Understanding it correctly is the foundation of fixing the issue.
How to do it:
- Open App Store Connect > App Review > Resolution Center.
- Read the reviewer message completely, avoid skimming.
- Note the guideline number mentioned (for example, 2.1 Performance or 5.1 Privacy).
- Review screenshots or testing steps shared by Apple.
- Identify whether the issue relates to functionality, metadata, privacy, or payments.
Many repeated rejections happen because developers misunderstand the original feedback.
Step 2: Map the Issue to Apple’s Guidelines
You must connect the rejection reason directly to the App Store App Review Guidelines to understand Apple’s expectations.
How to do it:
- Visit Apple’s official guidelines page.
- Search for the guideline number referenced in the rejection.
- Read the entire section carefully.
- Compare Apple’s requirement with your app’s actual behavior.
- Document what specifically violates the rule.
This step helps you focus on compliance rather than quick fixes.
Step 3: Implement the Required Fixes
Update your app based on reviewer feedback. Apple expects meaningful corrections, not temporary patches.
How to do it:
- Fix crashes, broken flows, or unstable features.
- Update privacy permissions and disclosures if required.
- Correct misleading screenshots or descriptions.
- Adjust subscription or payment implementation if flagged.
- Remove placeholder or incomplete content.
- Create a new build and archive it in Xcode.
Thorough implementation prevents repeated rejection.
Step 4: Test the App Like an Apple Reviewer
Before you submit an app to the App Store again, test your app from a reviewer’s perspective.
How to do it:
- Install the app on multiple real devices.
- Test onboarding, login, and key features step by step.
- Verify permissions appear only when necessary.
- Check all buttons, links, and navigation flows.
- Use TestFlight for beta testing.
- Confirm demo credentials work without issues.
Reviewers evaluate usability quickly, so testing must be practical and realistic.
Step 5: Add Clear Notes for the Reviewer
Clear communication improves approval chances. Reviewers rely on your notes to understand what changed.
How to do it:
- Open the Review Notes section during resubmission.
- Explain the rejection issue briefly.
- List the fixes you implemented.
- Provide steps reviewers can follow to verify updates.
- Include demo login credentials if required.
- Keep explanations concise and professional.
Good review notes reduce confusion and speed up evaluation.
Step 6: Resubmit and Monitor Review Status
After completing fixes, resubmit your updated build and track the review process actively.
How to do it:
- Upload the updated build to App Store Connect.
- Attach the corrected version to your submission.
- Submit for review again.
- Monitor status updates regularly.
- Respond quickly if Apple requests clarification.
- Prepare additional adjustments if follow-up feedback appears.
Expert Insight
Apple’s official documentation shows that most developers successfully fix a rejected iOS app by addressing guideline feedback carefully rather than rebuilding the entire product. Teams that align updates with the Apple App Store Developer Guidelines significantly improve approval rates.
What are the App Store Approval Tips From Experienced Developers?
Getting an app approved is not just about writing good code. Developers who consistently pass review understand how Apple evaluates apps in real-world conditions. Experienced teams treat approval as a pre-submission process, not a final step after development.
The following App Store approval tips come from common practices used by successful iOS teams that regularly meet the Apple App Store Developer Guidelines and avoid common review delays.
Test on Real Devices
Many apps work perfectly in simulators but fail during App Store review because real devices behave differently. Apple reviewers test apps on actual hardware, different screen sizes, and varying network conditions.
Experienced developers always:
- Test performance on multiple iPhone and iPad models
- Check loading speed and responsiveness under real network conditions
- Validate permissions, notifications, and background processes on physical devices
Real-device testing helps uncover issues that automated testing often misses.
Avoid Placeholder or Incomplete Content
Apps submitted with dummy text, inactive buttons, or unfinished screens signal that the product is not ready for users. Apple expects production-ready experiences at submission.
Experienced teams ensure:
- All features are functional
- No “Coming Soon” sections appear in live builds
- Sample or test data is removed before submission
A complete app builds reviewer confidence immediately.
Provide Demo Credentials for Reviewers
If your app requires login access, reviewers must be able to test every feature without barriers. Missing or incorrect credentials are a surprisingly common rejection reason.
Developers improve approval chances by:
- Creating a dedicated reviewer test account
- Providing clear login instructions
- Ensuring restricted features remain accessible during review
Easy access allows reviewers to verify functionality quickly.
Follow Apple Human Interface Guidelines
Apple values consistency across the iOS ecosystem. Apps that ignore platform design standards often face rejection even when technically functional.
Experienced developers focus on:
- Clear navigation and intuitive layouts
- Native iOS gestures and interactions
- Accessible fonts, spacing, and readable UI elements
Following Apple’s design philosophy improves usability and trust.
Keep Privacy Disclosures Transparent
Privacy has become one of the strongest approval factors in recent App Store reviews. Apple expects developers to clearly explain how and why user data is collected.
Best practices include:
- Request permissions only when necessary
- Explain data usage in simple language
- Ensure privacy policy details match app behavior
Transparent disclosure strengthens both compliance and user confidence.
Expert Insight
Experienced development teams treat App Store approval as a quality assurance milestone rather than a final upload step. Teams with structured pre-review testing reduce rejection rates significantly because they validate performance, compliance, and usability before they submit an app to the App Store. Aligning development workflows with the App Store App Review Guidelines helps teams achieve faster approvals and fewer resubmissions.
What Is a Pre-Submission Checklist for iOS Apps? (Avoid App Store Rejection)
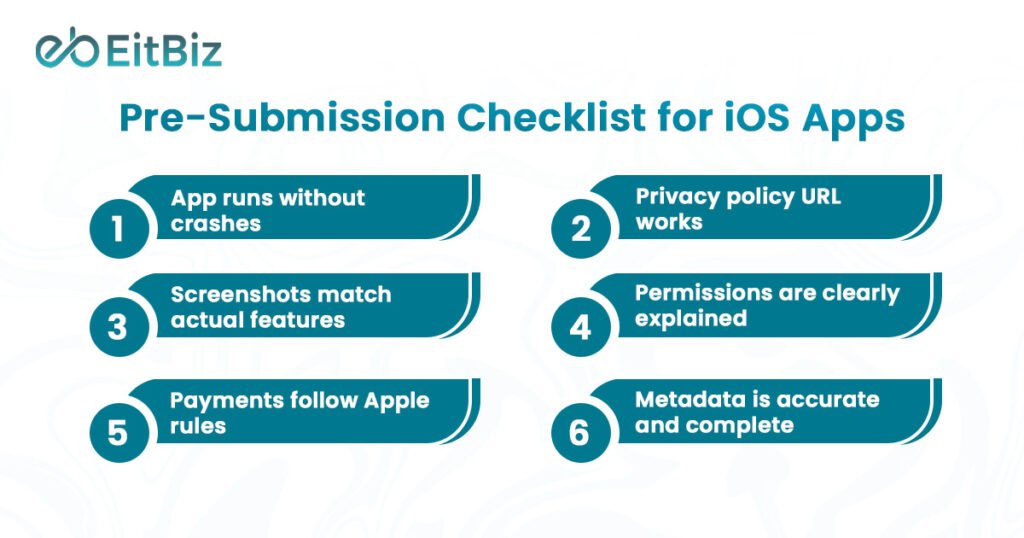
Before you submit an app to the App Store, run through this quick checklist. Experienced developers use a structured pre-review audit to ensure their app aligns with the Apple App Store Developer Guidelines and avoids common iOS app rejection reasons. This simple review step can prevent unnecessary delays and resubmissions.
- App runs without crashes
Test core features on real devices and multiple iOS versions to confirm stable performance during launch, navigation, and background usage.
- Privacy policy URL works
Ensure your privacy policy link opens correctly, loads quickly, and clearly explains how user data is collected, stored, and used.
- Screenshots match actual features
Verify that screenshots and preview videos accurately represent real functionality. Misleading visuals are a common App Store rejection cause.
- Permissions are clearly explained
Request permissions only when needed and provide clear in-app explanations for camera, location, tracking, or notification access.
- Payments follow Apple rules
Confirm that subscriptions and in-app purchases comply with Apple’s payment policies and display pricing and renewal terms transparently.
- Metadata is accurate and complete
Check app name, description, keywords, category, and support links. Metadata must reflect the real purpose and behavior of the app.
Expert Tip:
Teams that perform structured pre-submission checks significantly reduce rejection risks and speed up approval timelines.
Final Thoughts
Getting an app approved on the App Store is no longer just a technical milestone, it’s a process built around compliance, user trust, performance, and transparency. Most iOS app rejection reasons in 2026 occur because developers overlook key requirements in the Apple App Store Developer Guidelines, not because their apps lack innovation. When teams understand the review process, prepare thoroughly, and follow structured testing practices, approval becomes faster and far more predictable.
The smartest approach is to treat App Store compliance as part of development from day one. Careful planning, accurate metadata, strong privacy practices, and real-device testing significantly reduce rejection risks and improve long-term app success.
If you want expert support to submit an app to the App Store, fix approval issues, or launch a fully compliant iOS application, EitBiz can help. With years of experience in iOS app development services and App Store optimization, the EitBiz team helps businesses build high-quality apps that meet Apple’s standards and pass review smoothly. From development and UI/UX design to compliance checks and resubmission support, EitBiz ensures your app reaches users faster, without unnecessary delays.
Partner with EitBiz to turn your app idea into an App Store-approved success.